Cross Platform Azure Mobile Services with Xamarin and MvvmCross

Introduction and Prerequisites
The aim of this article is to get an app up and running across the three platforms, with all calls to Azure Mobile Services made from a cross platform portable class library (PCL), highlighting and resolving all the gotchas you might hit on the way. It assumes that you have (or can) already set up the Azure Mobile Service and get your secret key, as you’ll need to put that into this code. If you need any guidance on this please go through this link first:
http://azure.microsoft.com/en-us/develop/mobile/
(Don't bother downloading any sample code for now - we'll go through that later)
I’m also assuming that you have Visual Studio installed, as well as Xamarin, and that you have (or have access to) a Mac. For info on installing and configuring Xamarin take a look here:
Although this article also assumes that you’re using Visual Studio, all of this is also possible using Xamarin Studio, with the exception that you won’t be able to write the version for Windows Phone. Feel free to try and follow these instructions from Xamarin Studio.
Lastly, we’ll be using MvvmCross, which facilitates use of the Mvvm programming pattern across all three platforms. Whilst familiarity with these will be useful, you should be able to get by without it, but you’ll probably want to read up on it afterwards to figure out what you just did!
You can find some background on Mvvm here.
And you can watch an excellent series of videos on MvvmCross made by its creator, Stuart Lodge, here (look for the N+1 videos):
If you battle with any of these prerequisite steps or are just unfamiliar with it all so far then drop me a line and I’ll see if I can help you out. This should be safe to say as only a handful of people will read this…
The full source will shortly be made available on GitHub, and I'll post a link when it's there.
EDIT: The source is now available here under 'SydMobNet2.AMS': https://github.com/AlecDTucker/SydMobNet
Create the PCL
The first thing we’ll do is to create the Portable Class Library. I’ll go through all steps required, so if you’re familiar with this process already then excuse the level of detail.
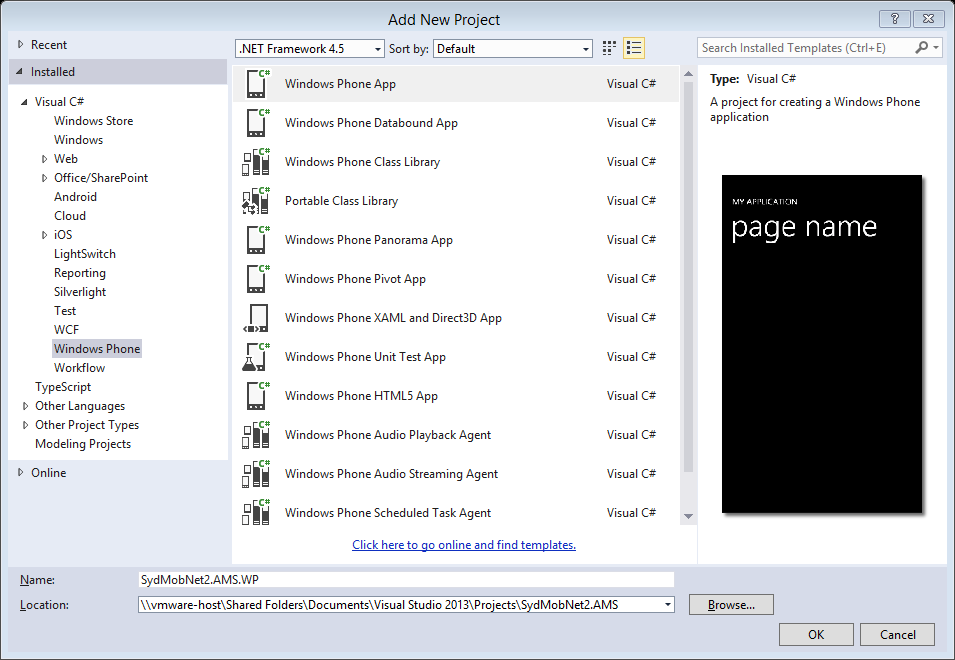
In Visual Studio select File à New àProject and you’ll see the following:
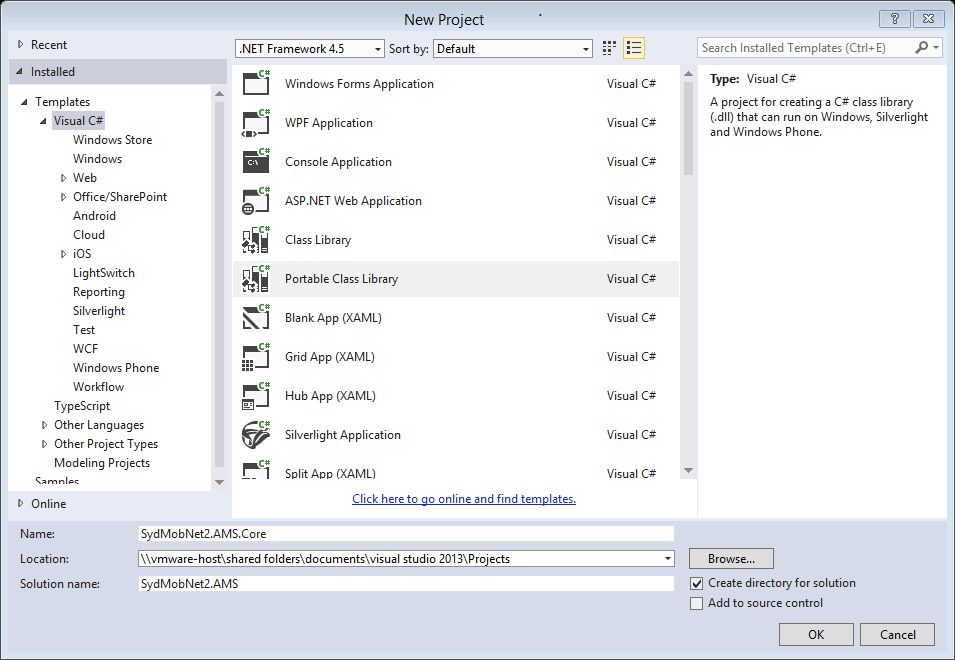
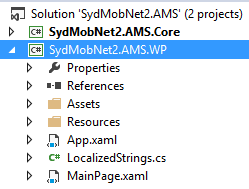
Select a Portable Class Library, as shown, and enter a name for it. My project is called SydMobNet2.AMS.Core. SydMobNet2 because I presented this at the second meetup of the Sydney Mobile .Net Developers Group (http://www.meetup.com/SydneyMobileDotNetDevelopers/) and AMS for Azure Mobile Services. The .Core is a standard I follow for naming the PCL. When it comes to the other projects we’ll need, you’ll see that they get an extension describing the platform they target (e.g. SydMobNet2.AMS.iOS).
Before clicking OK, just change the Solution name. This will have default to match the project name, so delete the ‘.Core’ part from the end.
When you click
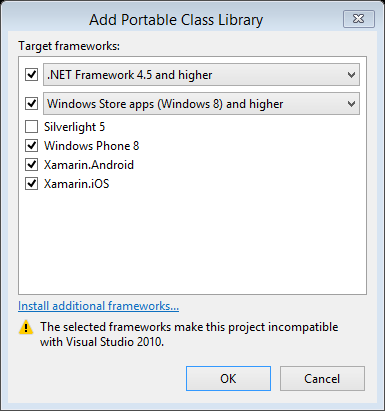
When you click
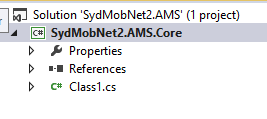
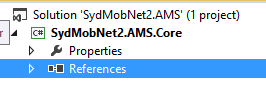
We’re not going to use Class1.cs, so you can begin by deleting that.
NuGet Azure Mobile Services
We’ll be making use of NuGet during this exercise. If you’re not familiar with it just give it a try, and then try living without it afterwards! The next step is to use NuGet to download the Azure Mobile Services package as follows:
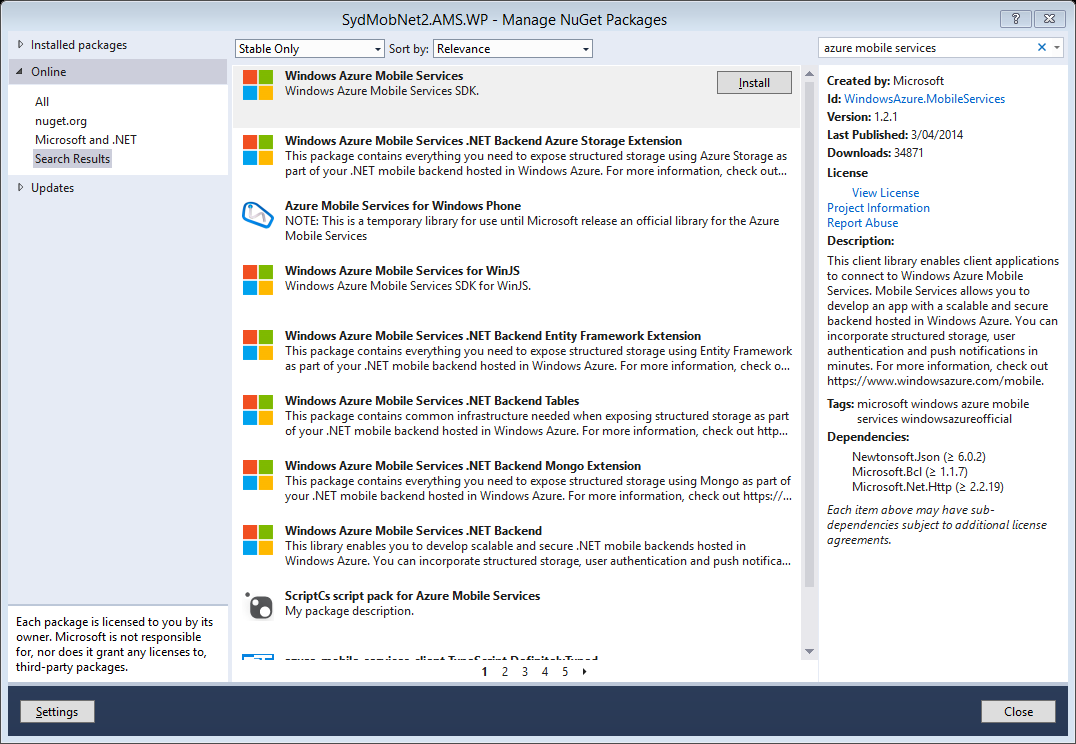
Right click on References, select Manage Nuget Packages and you’ll see the Manage NuGet Packages window. In the top right hand corner type:
Azure Mobile Services
…and then just wait. Providing you have an internet connection you should see a list like the one below.
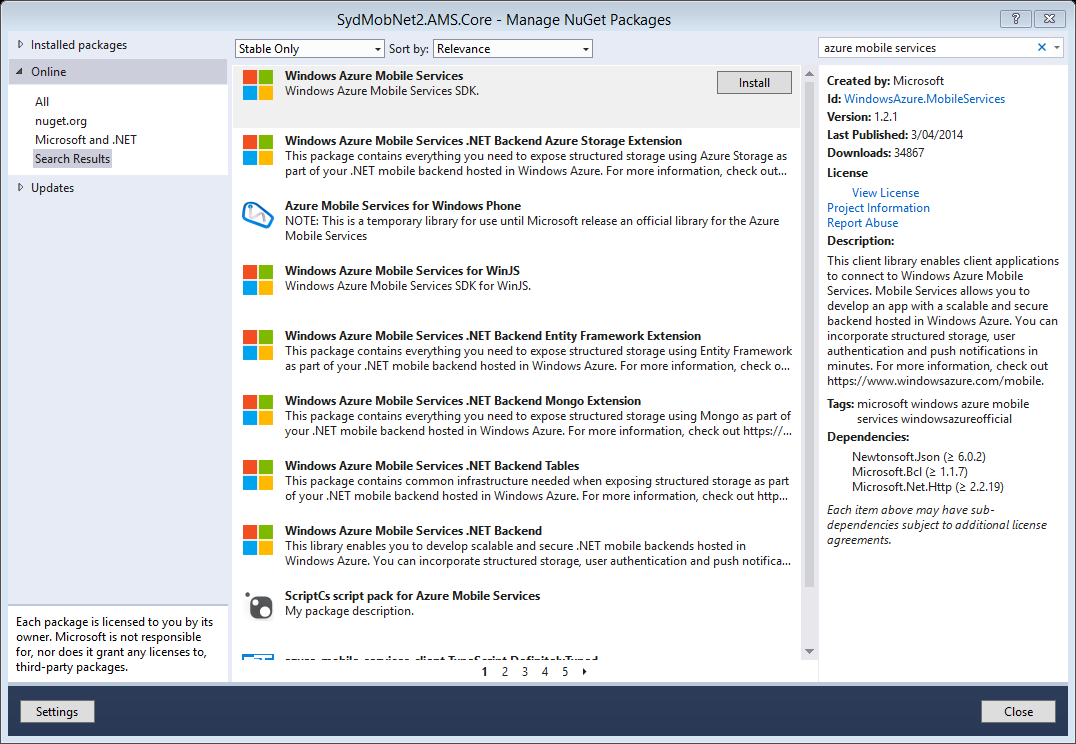
Select “Windows Azure Mobile Services” and then click
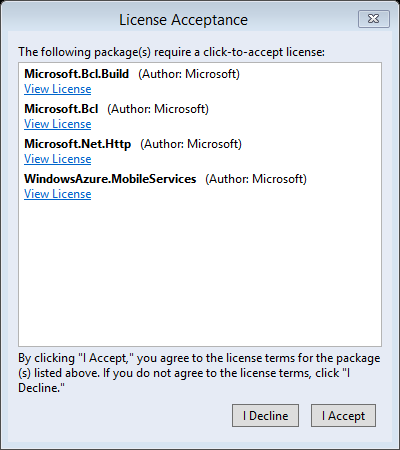
During the installation you’ll be prompted to accept some licences. Of course you’ll no doubt view each of these individually, print them out and review them with your legal team…:) Assuming you’re OK with these we can continue.
NuGet MvvmCross
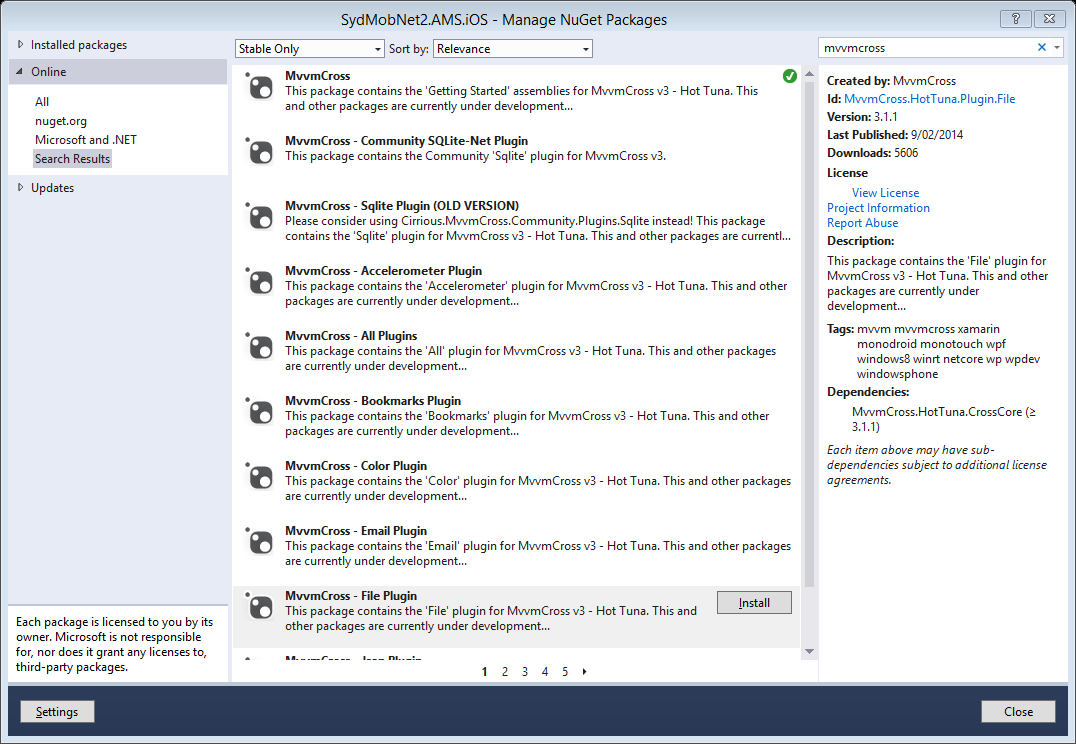
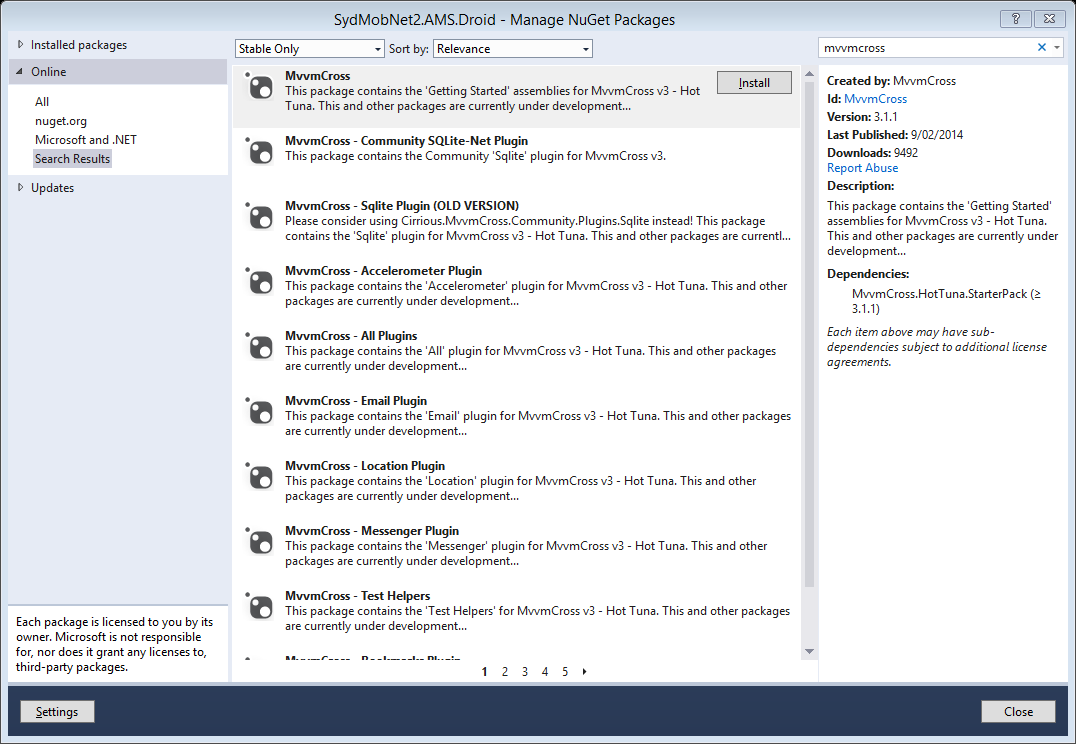
Next we want to go through the same process to download and reference the libraries required for MvvmCross. Again, right click on References and select Manage NuGet Packages, but this time you want to search for:
MvvmCross
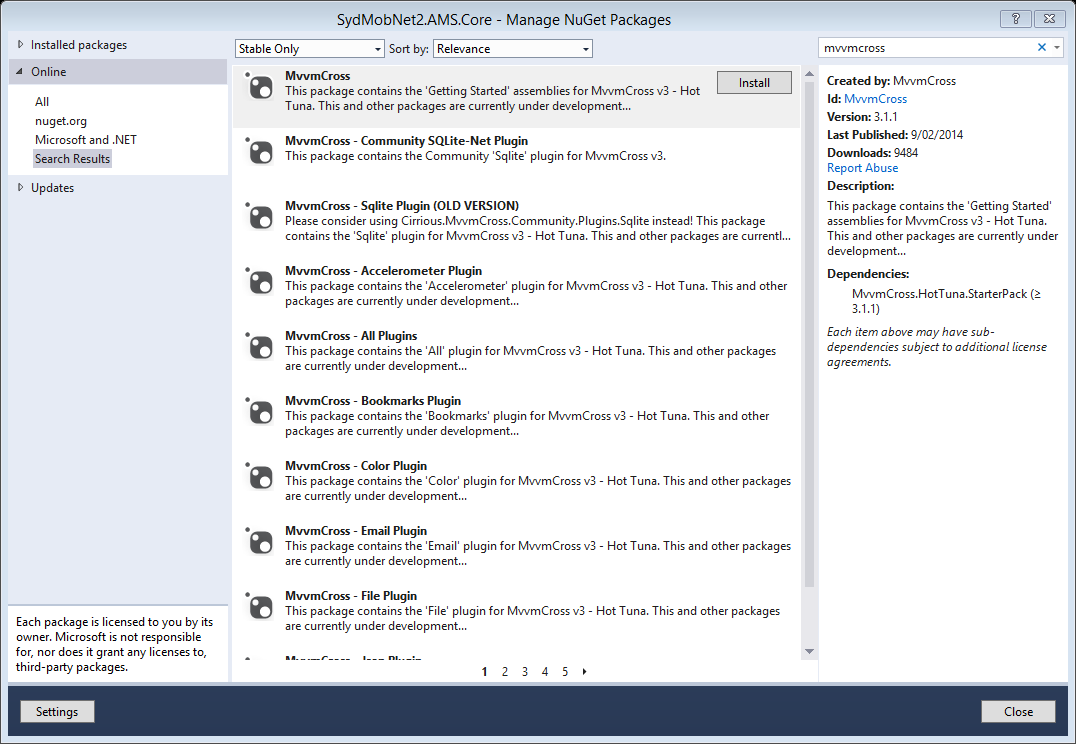
Select “MvvmCross” and click

You’ll see that the MvvmCross download has created a folder called “ToDo-MvvmCross” with a text file inside called “_Core.txt”. This contains some steps which used to be required, but the NuGet package actually does these steps for you. However, it’s a good idea to get in the habit of taking a look at this file, because some of the other projects will contain some steps that we need to follow.
Create Data Models
(the first ‘M’ in Mvvm)
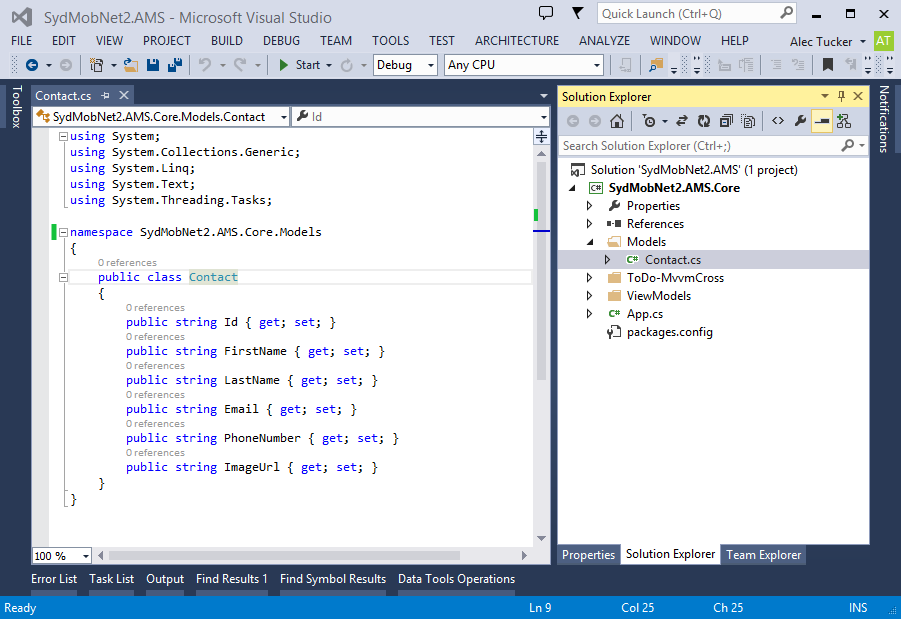
Create Models folder. Right click on SydModNet2.AMS.Core (or whatever you called your PCL project) and select Add à New Folder, and call it “Models”.

In there we’re going to create a class to represent a Contact entity. Right click on Models, select Add à Class, and give it a name of “Contact.cs”. Once created, enter the following code:
Create a Service Class
Next we’re going to write a service class. This is where the code which actually interacts with Azure Mobile Services will go.
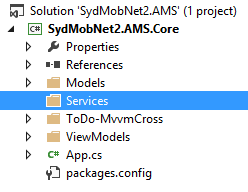
Create a ‘Services’ folder, and add in there a new class called ‘CloudService.cs’. If you want to give this a different name then it’s critical that it end with ‘…Service.cs’ as there’s code in MvvmCross which will automatically instantiate this for you by looking for classes which end with ‘…Service.cs’. You can get more info on this from Stuart’s blog / videos (http://slodge.blogspot.co.uk).
Add CloudService.cs
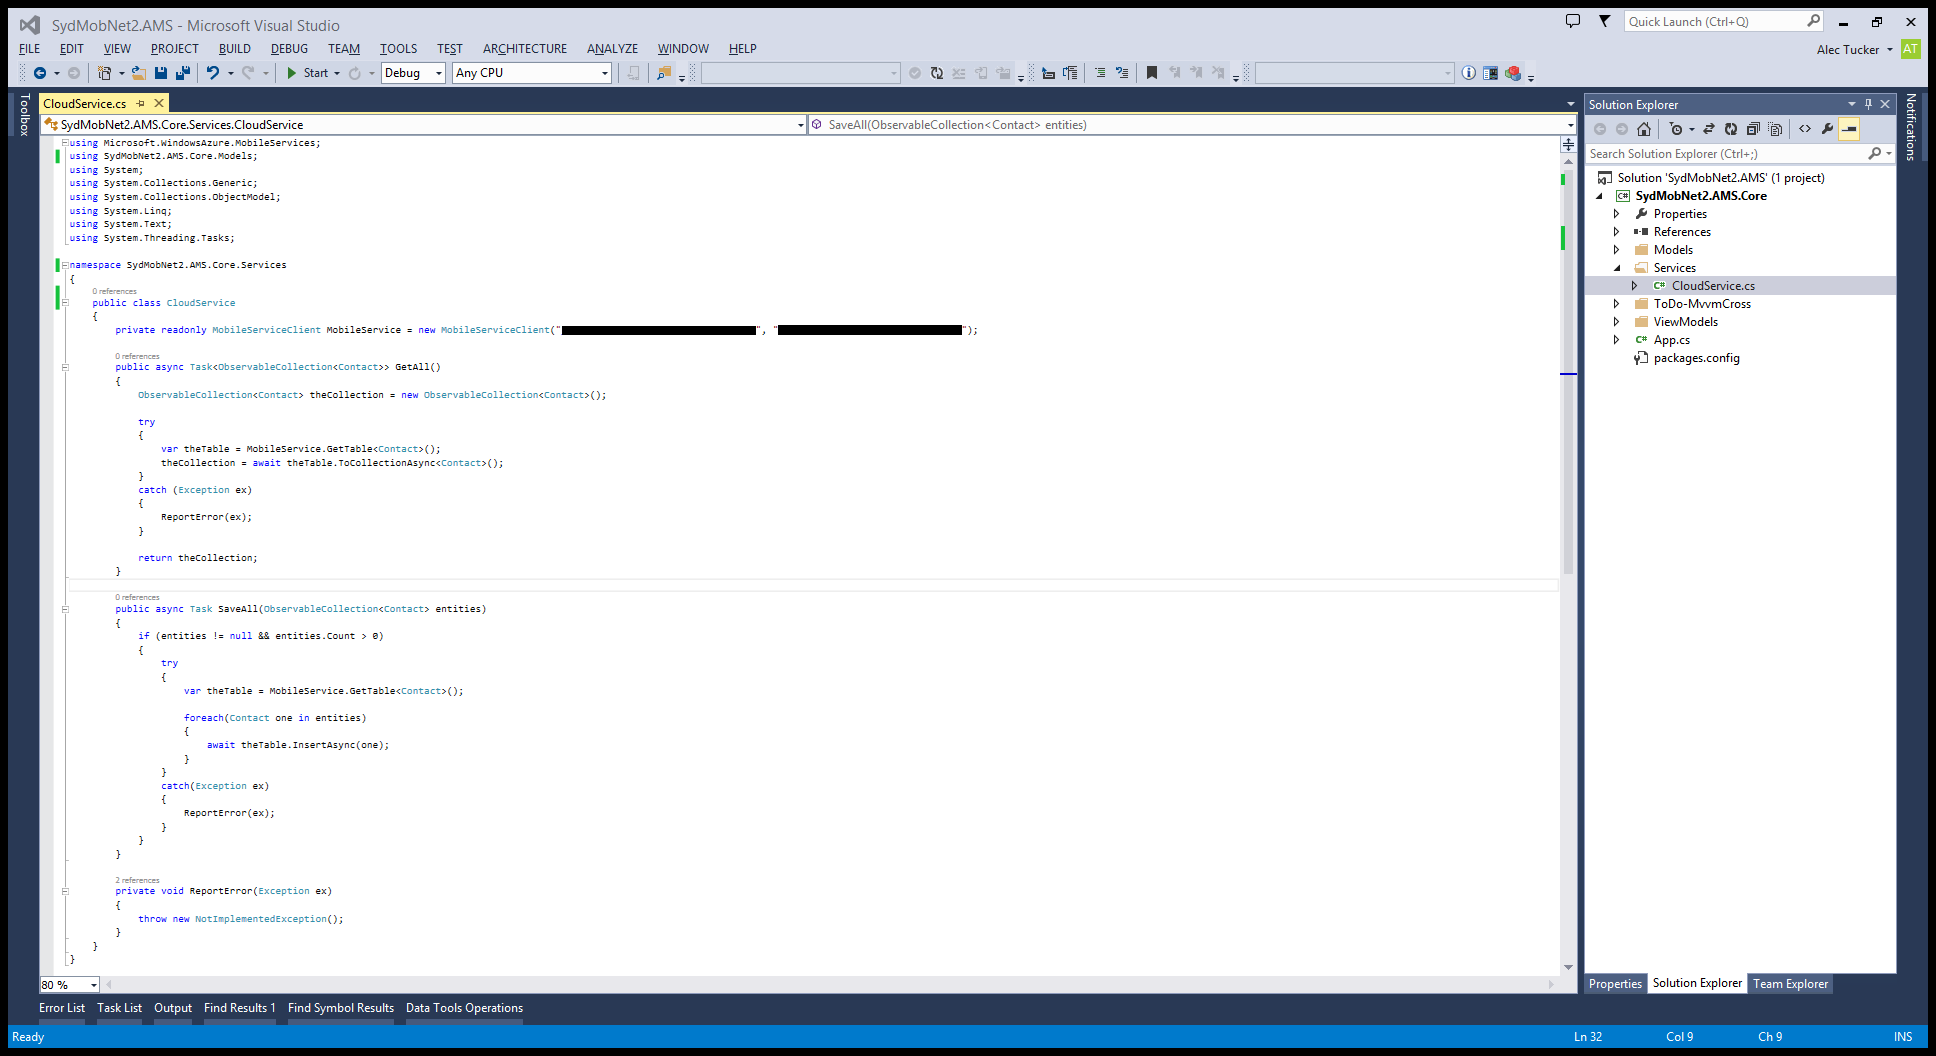
You’ll need to enter in your own url and key from the Azure Mobile Service that you’ve created.
Next we need to create an interface from this class. Visual Studio can do this for us as follows:
Right click on “CloudService” where it’s declared at the top, as highlighted, and select Refactor à Extract Interface.
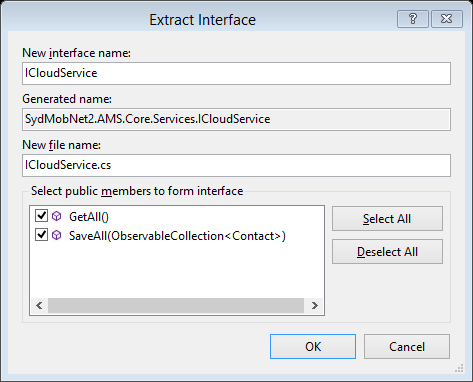
Click OK
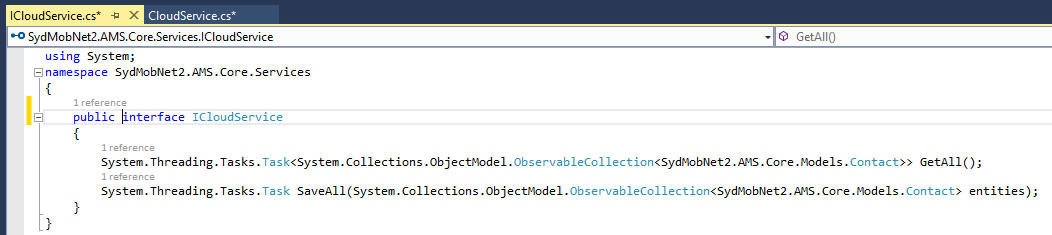
Make the resulting interface public:
Next we need to tell the ViewModel about this service.
Add the following to FirstViewModel.cs
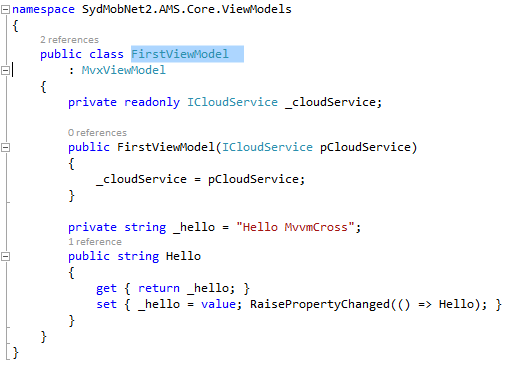
Add a Contacts property, as follows:

Resolve ‘Contact’ and ‘ObservableCollection’ by adding these lines to the top:

Add a PopulateContacts method to the ViewModel to create an initial list of contacts and save it to the cloud:
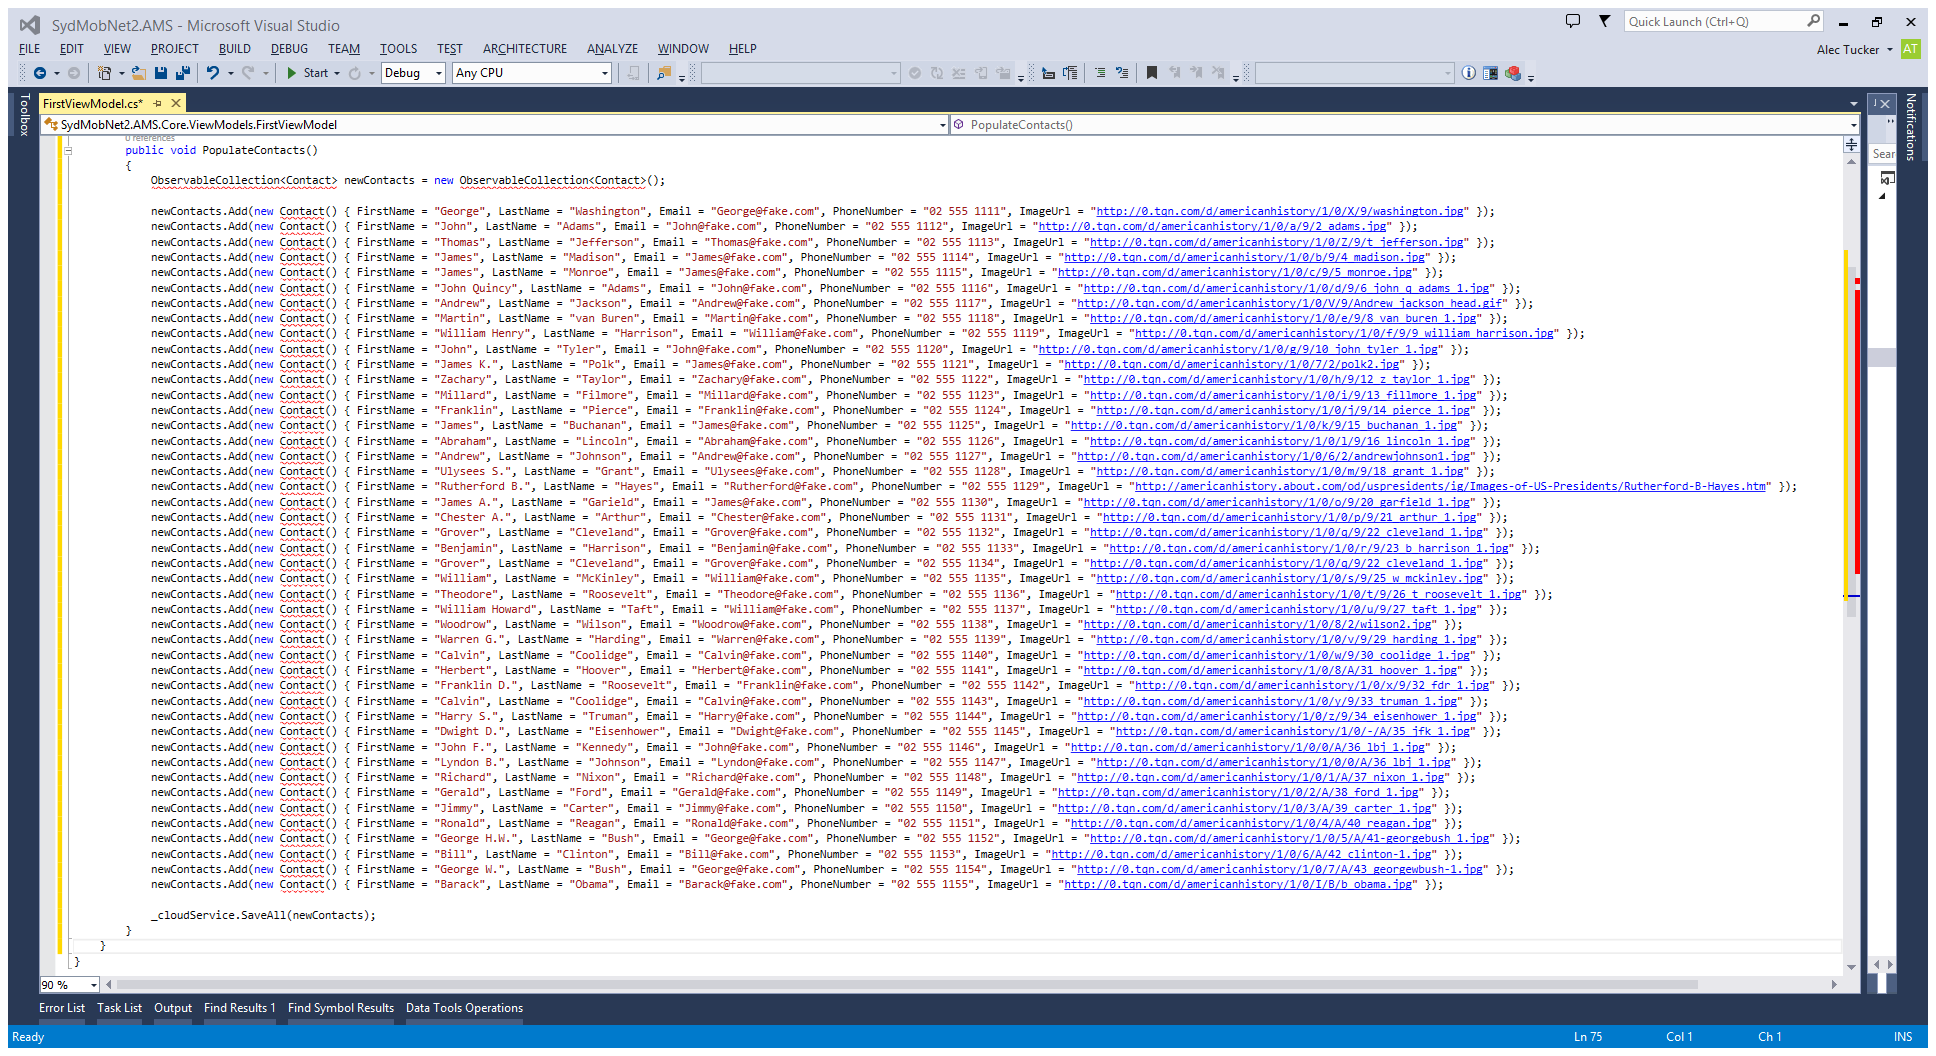
(This is the part that you might want to just copy and paste after downloading the code from GitHub!)
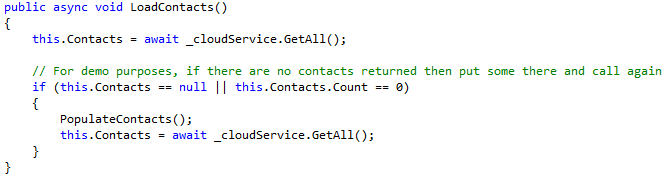
Add LoadContacts method to load contacts from Azure Mobile Services into the Contacts property of the ViewModel:
The PCL is now complete. It’ll be worth building this and resolving any typos you might have before continuing.
Windows Phone
Add a Windows Phone App to the Solution:
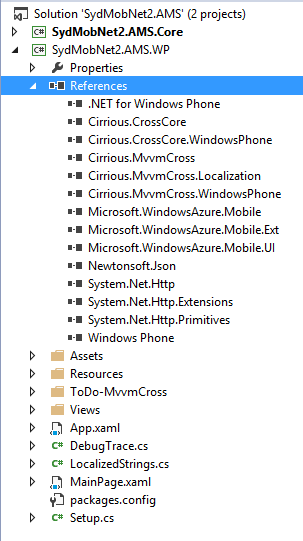
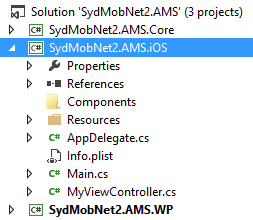
You’ll see I’m sticking to the standard of using the same name as the PCL project but with an extension of ‘WP8’ (Windows Phone 8) instead of ‘Core’. Your references should look like this:
Nuget Azure Mobile Services
Nuget MvvmCross

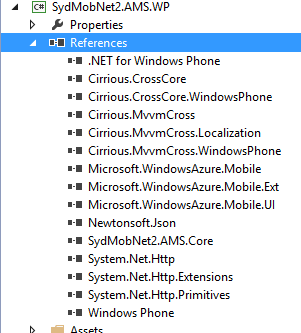
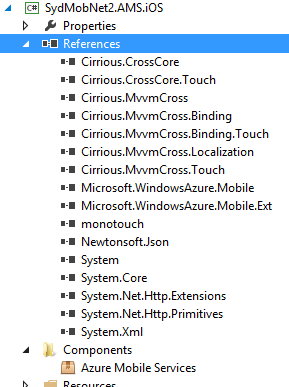
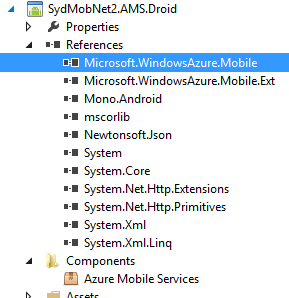
This should leave you with the following references:
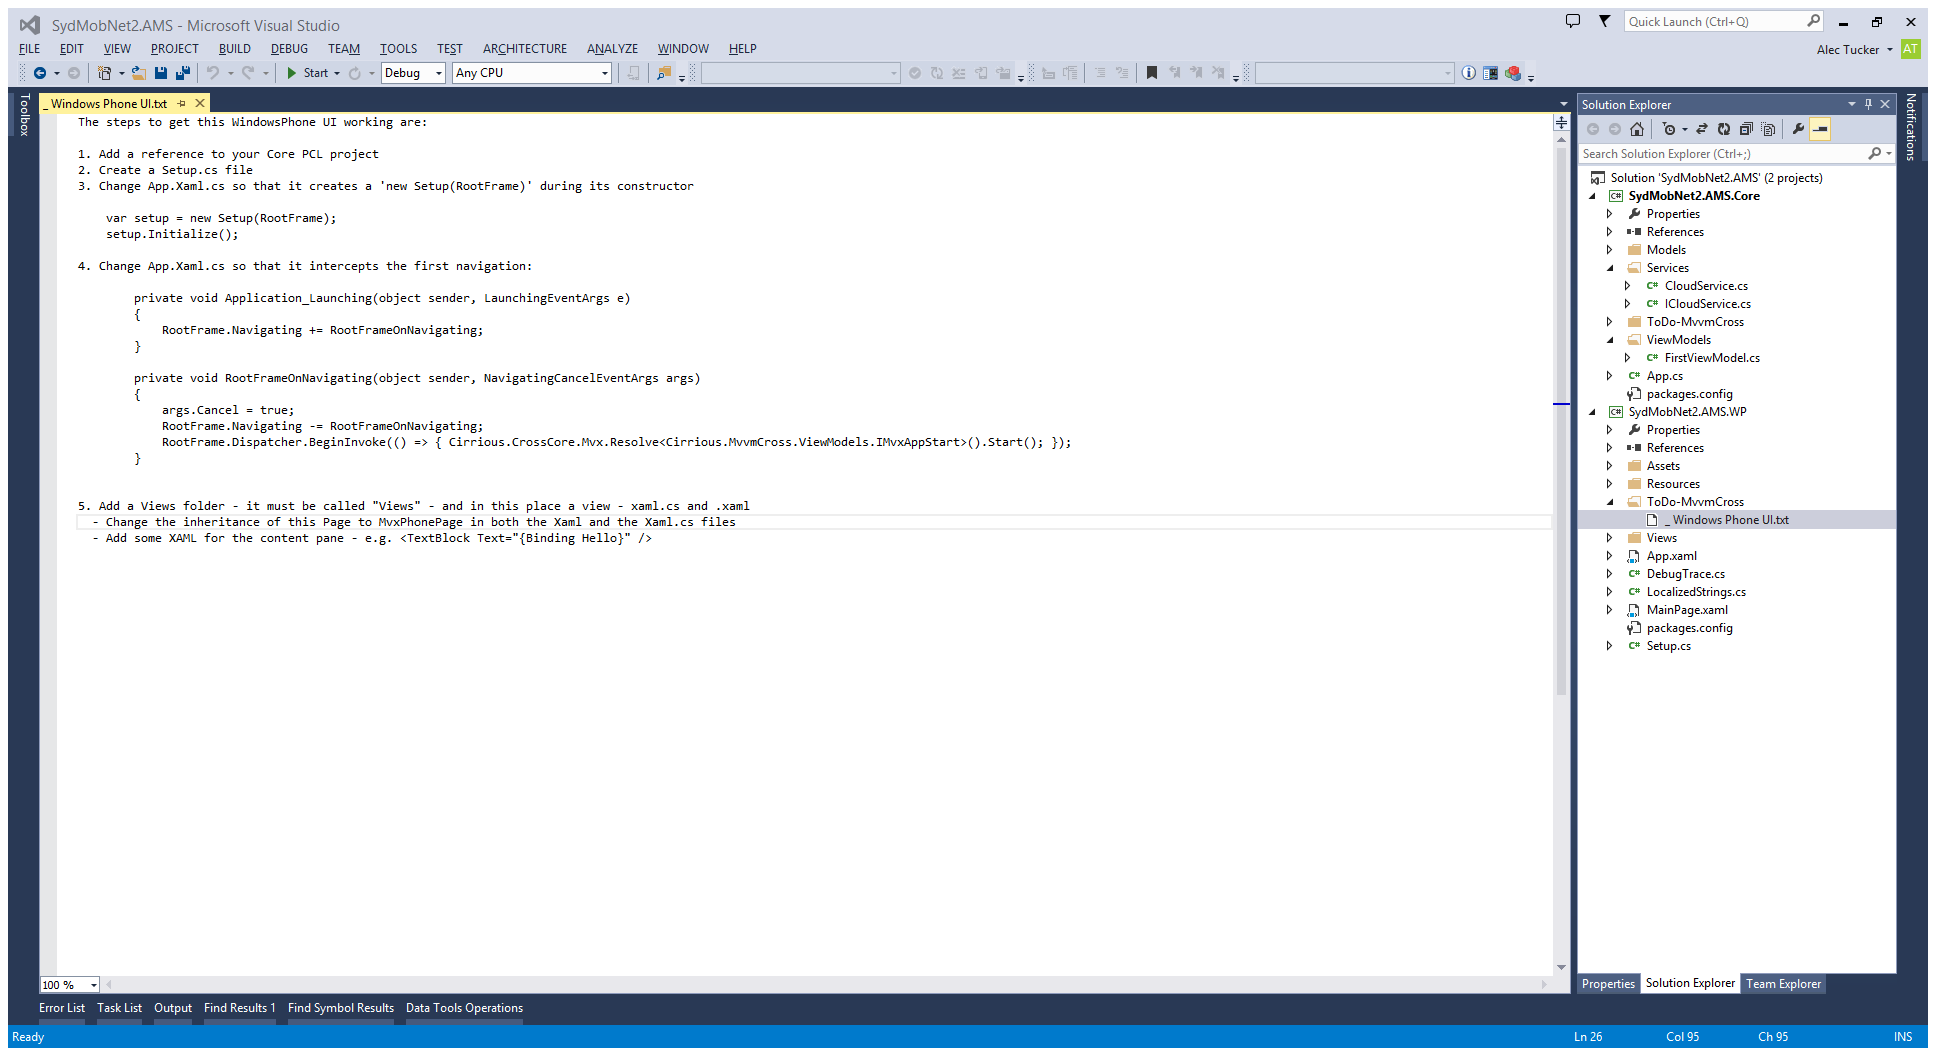
Follow MvvmCross instructions in ToDo-MvvmCross_Windows Phone UI.txt
Add a reference to the Core PCL:
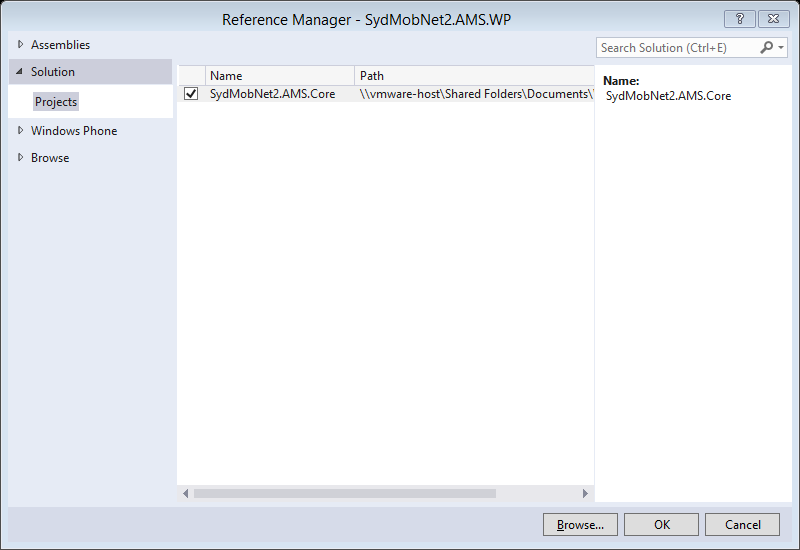
...leaving your references looking like this:
Add a ListView to FirstView.xaml and bind the ItemsSource to the Contacts property as follows:
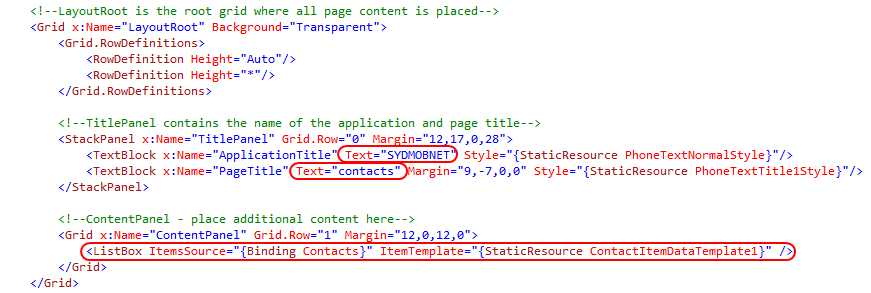
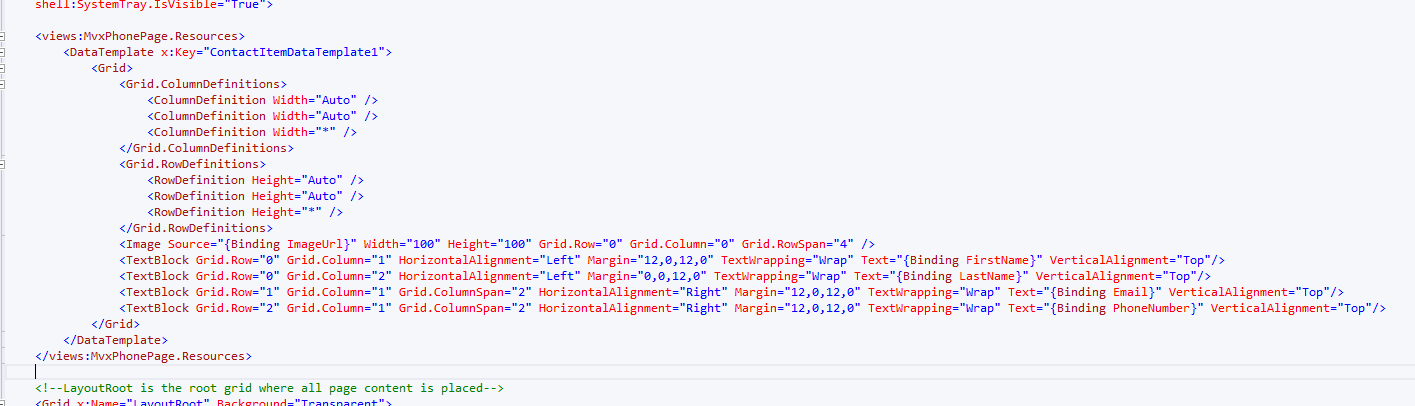
You will also need to add this Resources section above the LayoutRoot Grid in the xaml, to define the format of the individual ListItems:
In the CodeBehind (FirstView.xaml.cs) add the following override to populate the ViewModel with data:
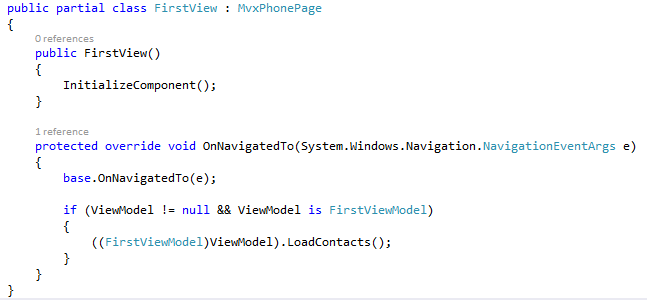
You’ll need to add this to resolve FirstViewModel:

The Windows Phone project is now complete. Set it as the Startup project, build it and take it for a spin.
iOS
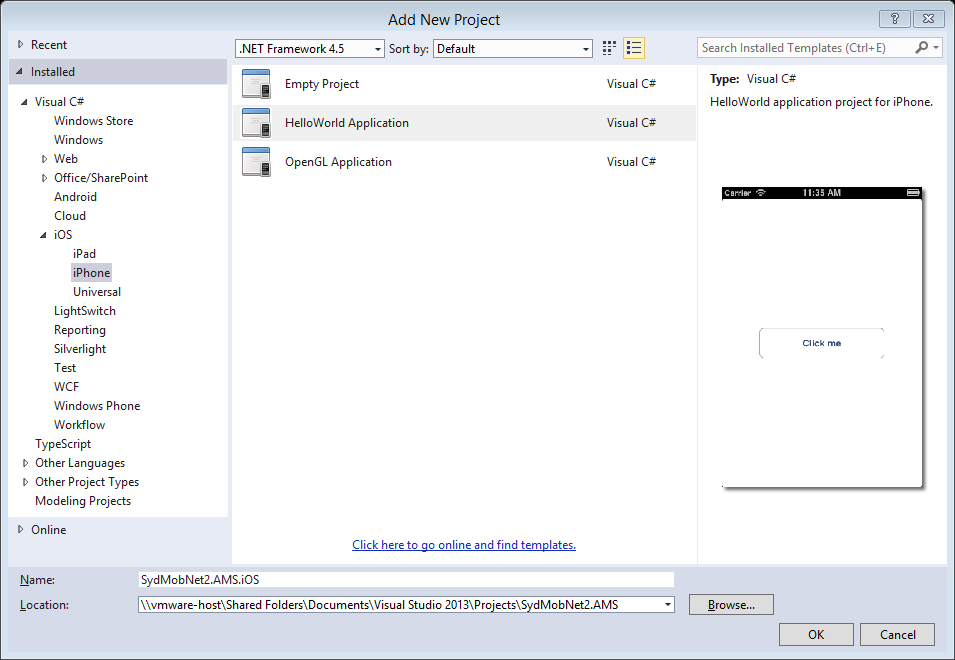
Create an iPhone Hello World App:
Get the Azure Mobile Services Component
Next, we're going to bring the Azure Mobile Services component into the app. In theory we could do this using NuGet again, but there's currently an issue with the NuGet package which adds in a gotcha (you have to manually remove a few references afterwards) so instead we'll bring this in using the Xamarin Component Store.
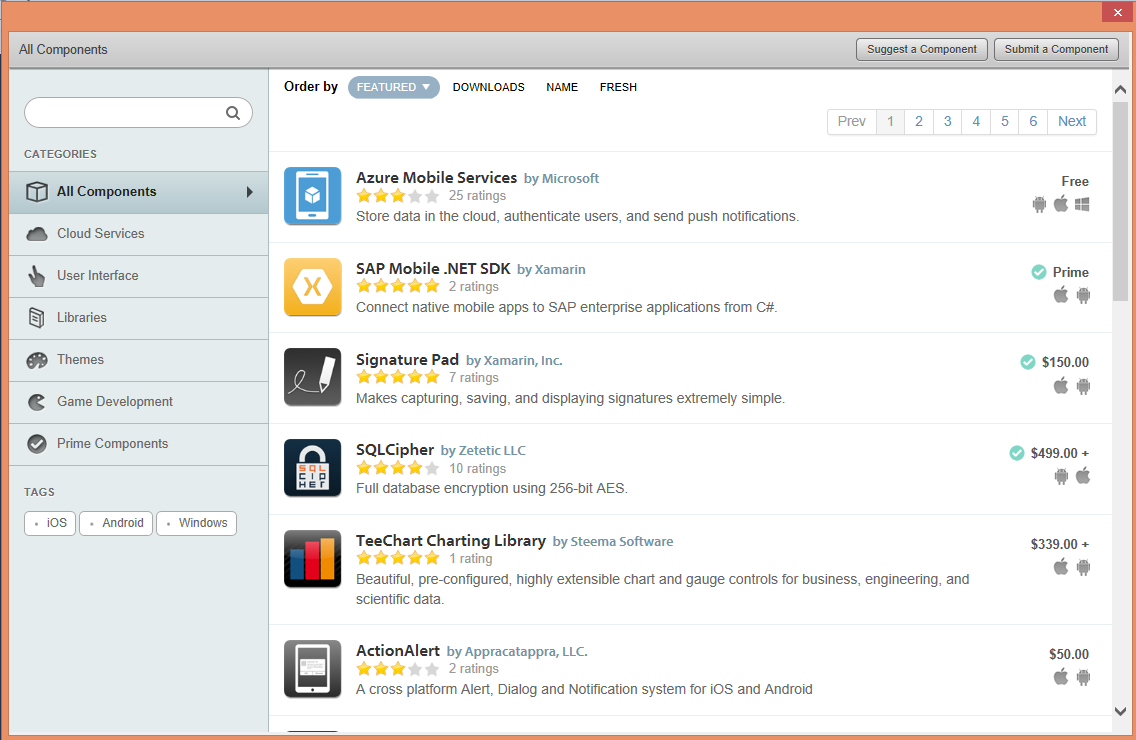
Add component – right click on Components and select ‘Get More Components…’
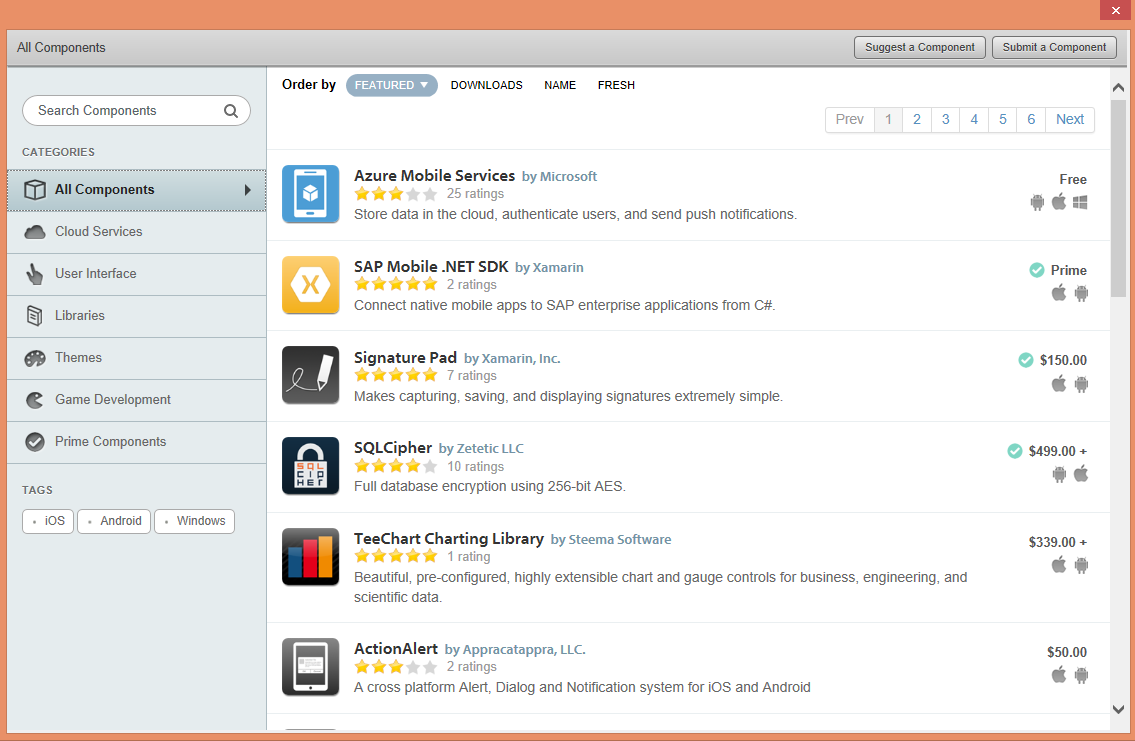
Click on 'Azure Mobile Services'.
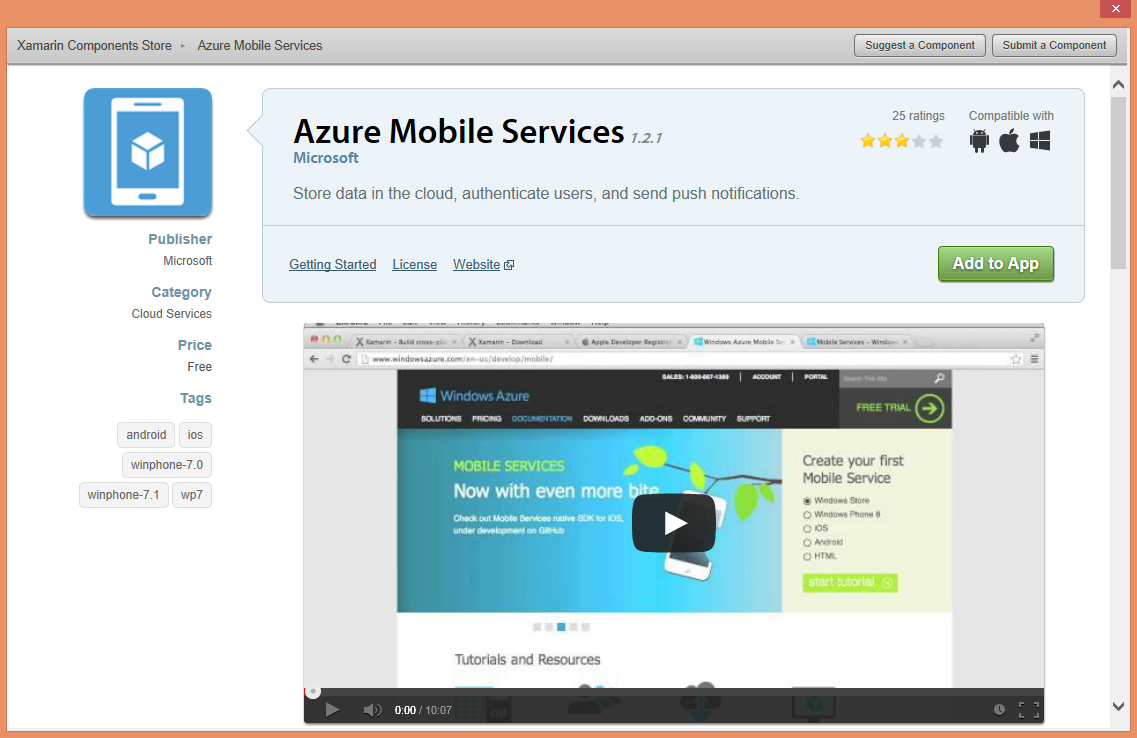
Click Add to App
NuGet MvvmCross

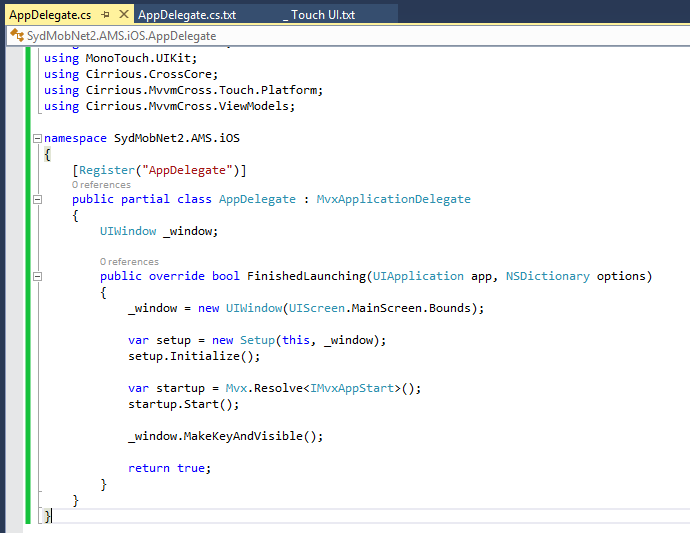
Check MvvmCross instructions in ToDo-MvvmCross_Touch UI.txt, which will involve replacing the entire contents of AppDelegate.cs with the contents of AppDelegate.cs.txt
Add CurrentPlatform.Init(); into AppDelegate.cs as follows:
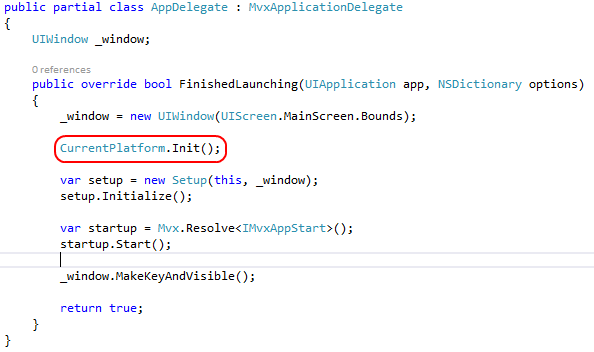
...adding the following to resolve CurrentPlatform:

This step is critical. Without it, the compiler will think that the platform specific Azure Mobile Services is not used and in a bid for efficiency will exclude it from the build. This will result in the following runtime exception:
A Windows Azure Mobile Services assembly for the current platform was not found. Ensure that the current project references both Microsoft.WindowsAzure.Mobile and the following platform-specific assembly: Microsoft.WindowsAzure.Mobile.Ext.
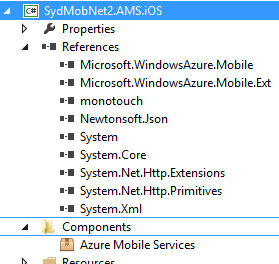
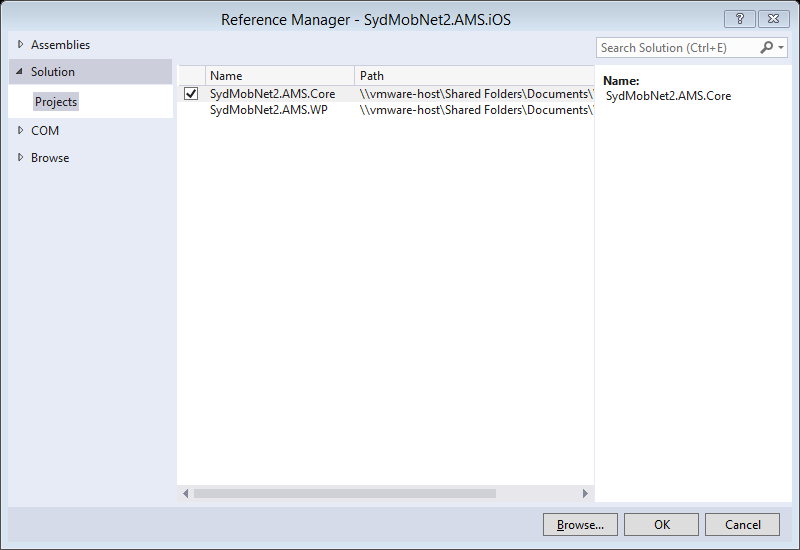
Add a reference to the Core PCL:

Edit Views\FirstView.cs to inherit from an MvxTableViewController and to add binding to the ViewModel as follows:
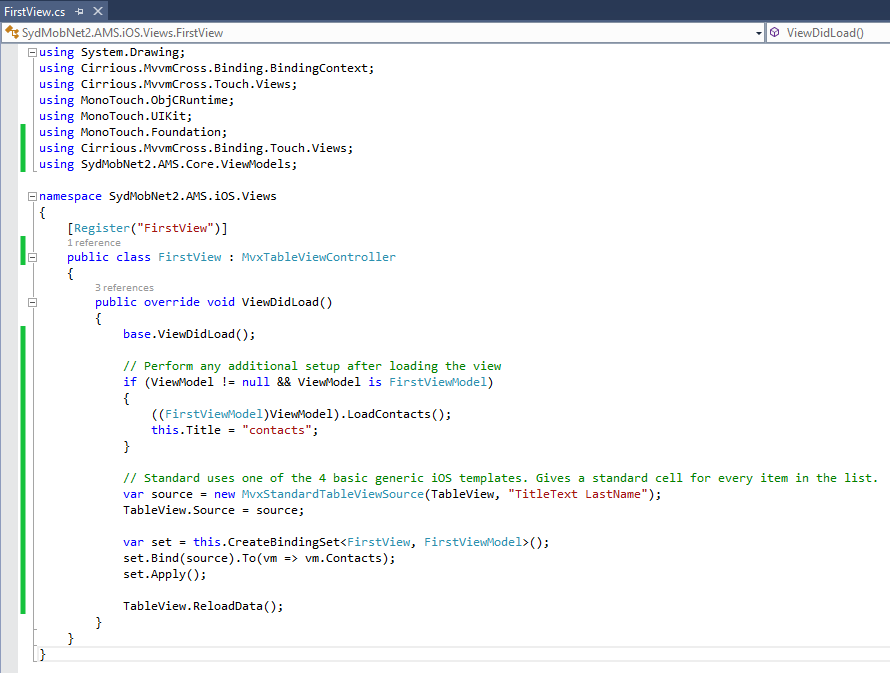
Note that there’s also a call in here to FirstViewModel.LoadContacts to populate the Contacts property.
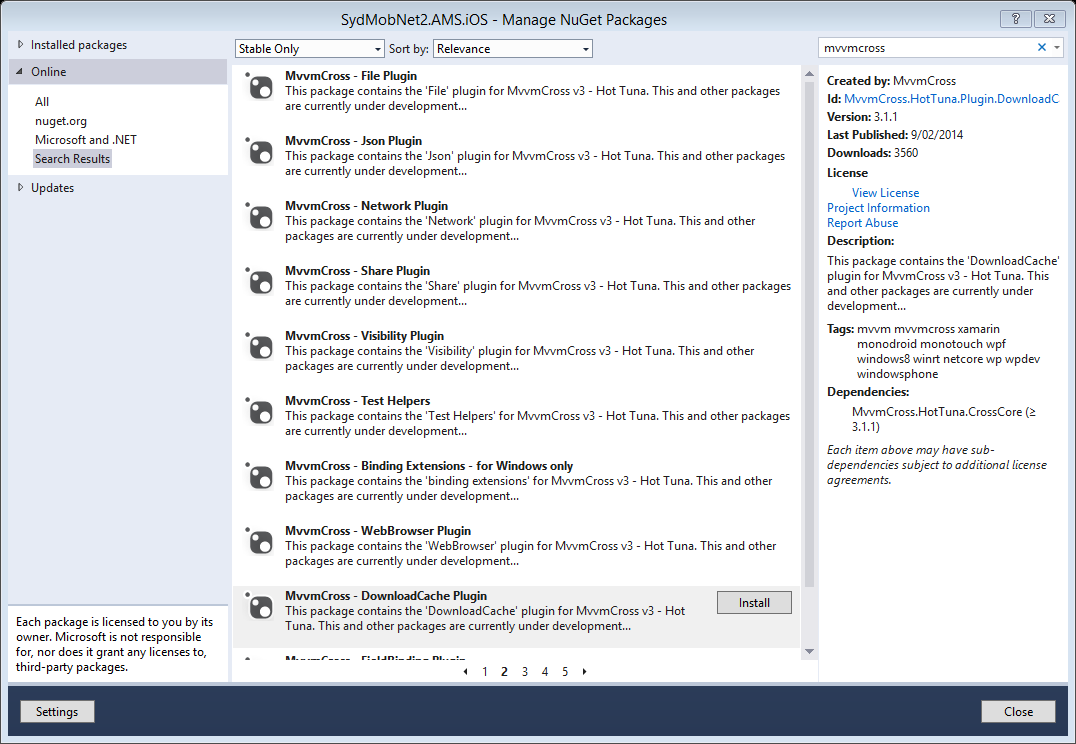
NuGet MvvmCross – DownloadCache Plugin & MvvmCross – File Plugin
These are both required to download the images referenced in the ImageUrl of each contact.
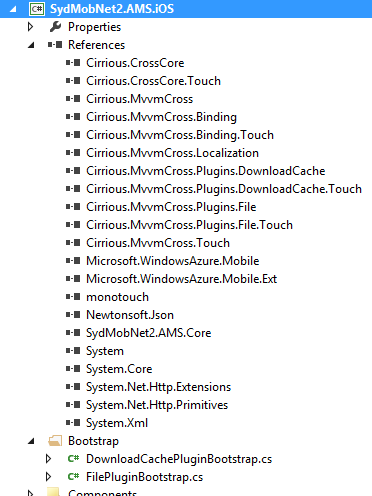
Set the iOS project as the startup project, and set up the targets as follows:

Set the application name, identifier and version in project properties:
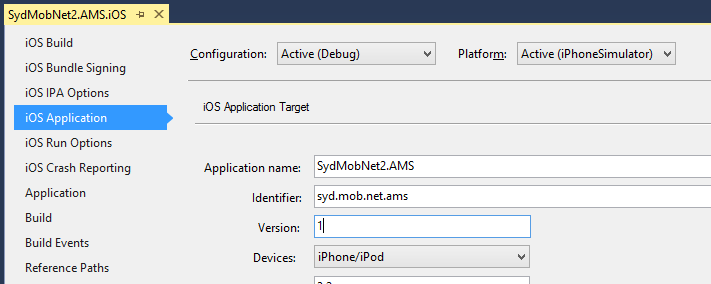
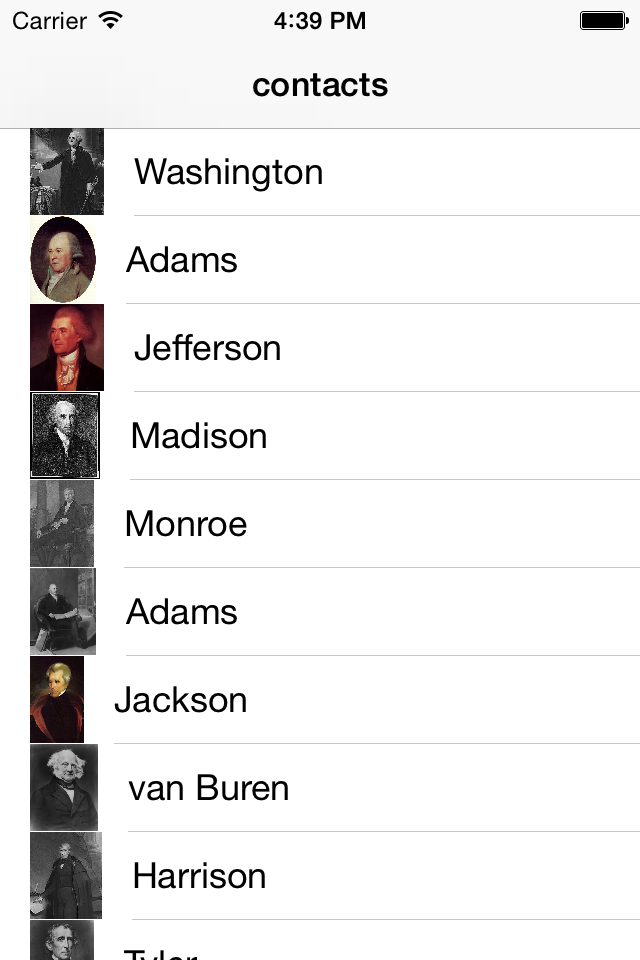
Build and deploy to the simulator to test.
Android
Add a new Android Application project to the solution:
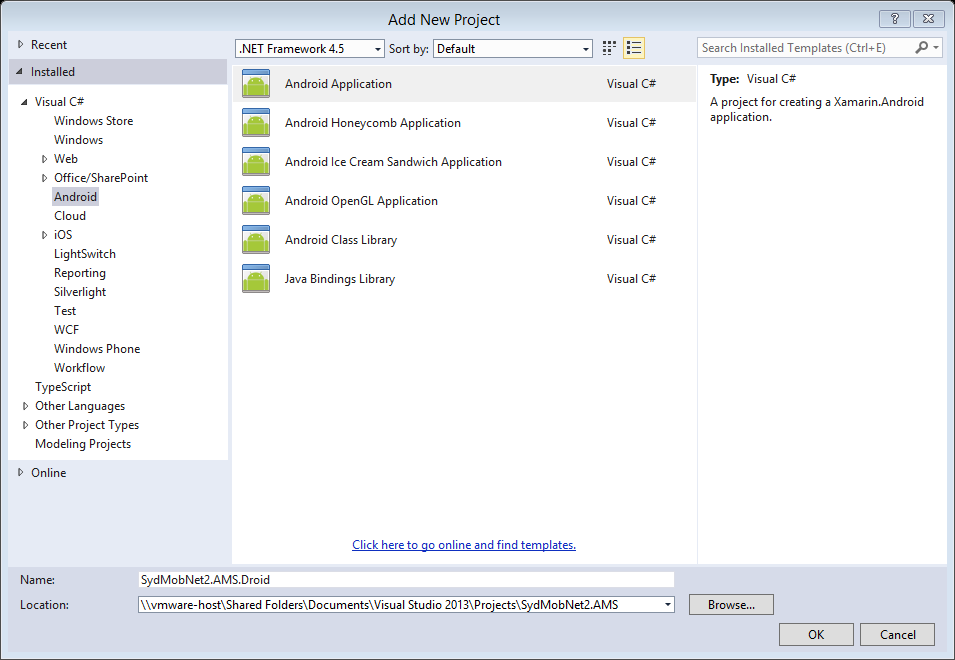
The naming convention should look familiar to you now.
Get the Azure Mobile Services Component
Next, use the Xamarin Component Store again to get the Azure Mobile Services component:
Select Azure Mobile Services:

Click Add to App.
NuGet MvvmCross
GOTCHA:
There’s currently an issue adding the NuGet MvvmCross package with the lastest Xamarin.Android installed on a PC. If Visual Studio hangs during this process then consider reverting to the Feb 2014 release of version 4.12. To do this you’ll need to go into Control Panel to uninstall Xamarin.Android, and then go to the downloads page, select ‘View All Versions’ and download and install the specific version.
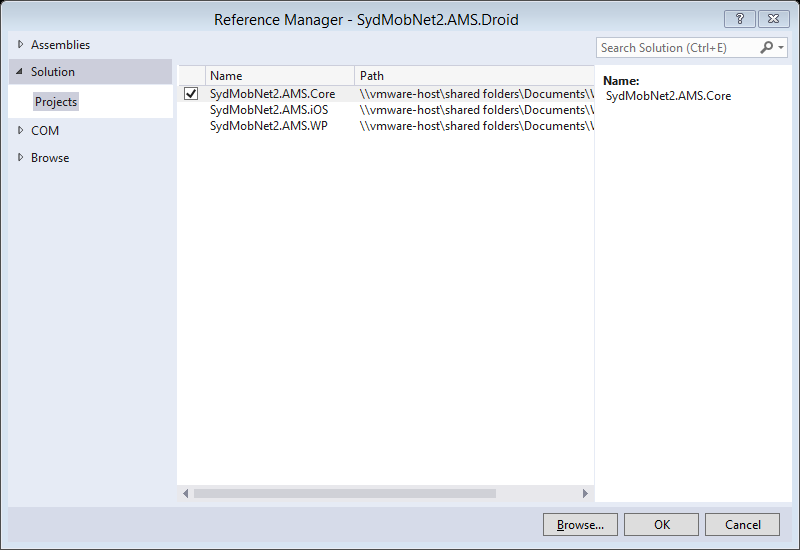
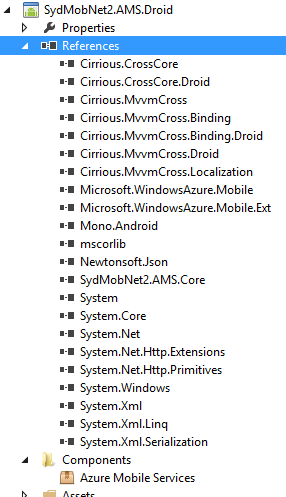
Add a reference to the Core PCL project:
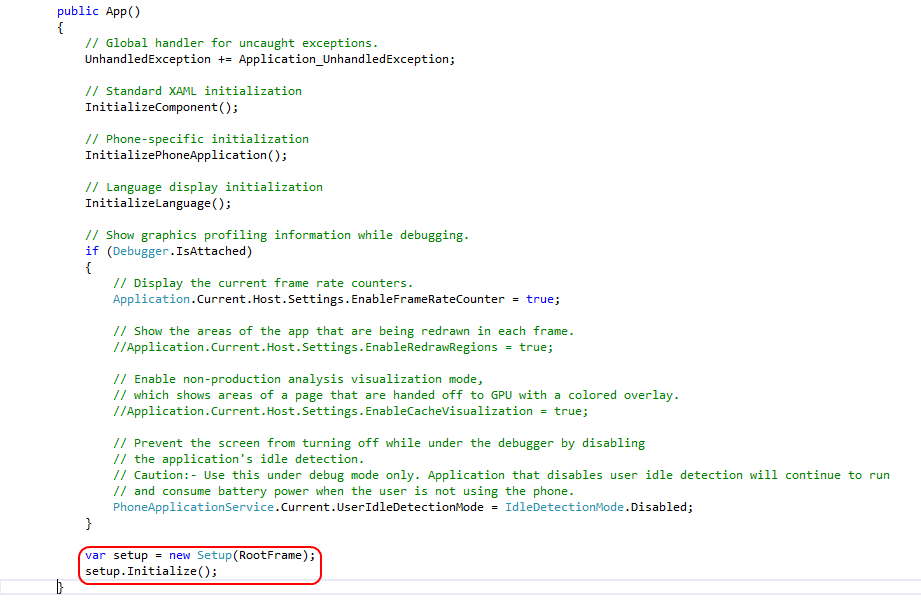
Add the following code to Setup.cs
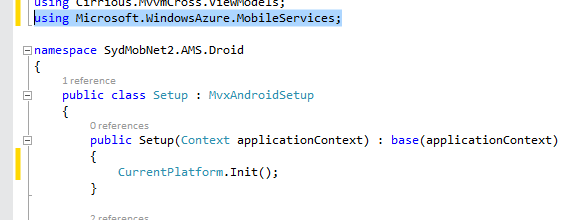
As with the iOS project, this step is critical to ensure that the Azure Mobile Services dll gets included in the build.
Set this as the Startup Project
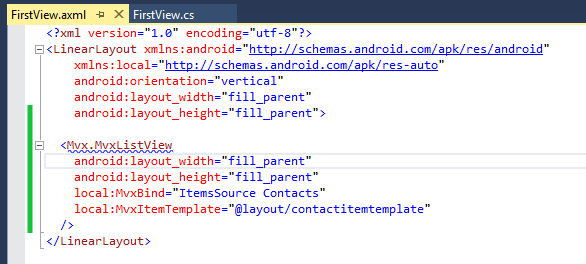
Change FirstView.axml in the Layouts folder to look like this:
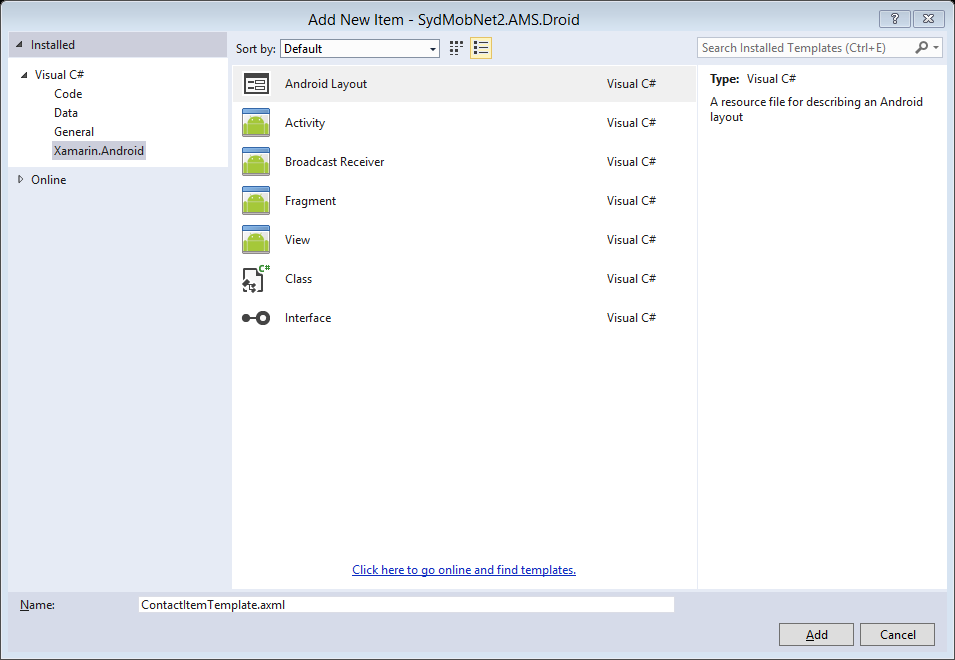
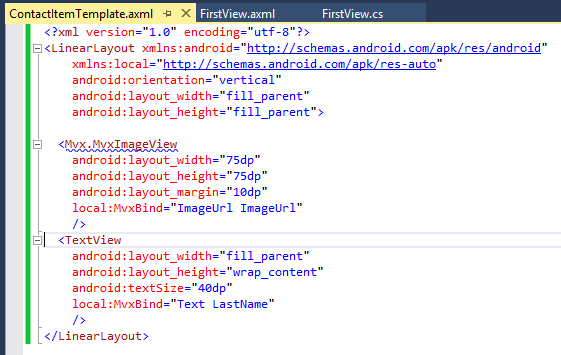
You’ll now need to add the referenced item template axml.
Open it with the XML editor…
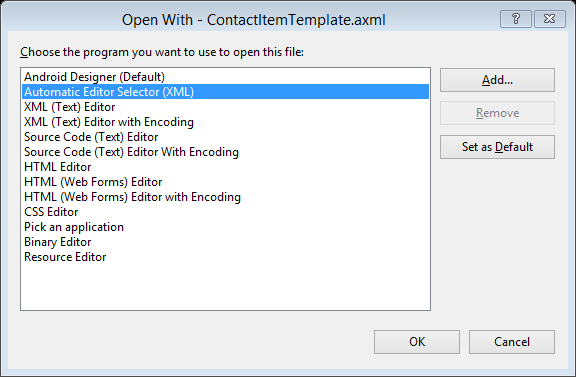
…and edit the contents to look like this:
Set as default project, if not done already
Select an emulator, if testing on an emulator.

You should now be able to build, deploy and run.
(NB: If you are using an emulator to test then I heartily recommend GenyMotion)
That's it! Hopefully it all worked smoothly for you, but if you get stuck then drop me a line and I'll see if I can assist.
Happy coding.
Alec